Reworking old things – tattoo purse!
February 1, 2013
My sister and I picked these purses up at least a decade ago, from one of downtown Toronto’s many knick knack stores. You know the ones, they sell everything from Canada flag hats and Toronto t-shirts, to ear muffs, lip gloss, and personal lubricant. I think the bags were something ridiculous, like 2 for $5, and we bought an orange and a red. We were youngins then, and these purses served their ‘money/phone/lipstick’ club purposes well. And then we stashed them in the back of a closet to be forgotten about until Sash moved in with the thin man and had to pare down a few things. The red bag grew pretty battered over the years and likely escaped our clutches ago, but this orange one was still in good condition, just neglected and slightly stained.

I’m not sure that I’ll really find any use for a tiny orange purse, but I’m certain I have no use for a stained tiny orange purse. I used a blue and a dark green Sharpie, and a silver metallic pen, and doodled. I initially thought I’d cover the entire purse, but as I progressed, the idea of just a vertical doodle band seemed like fun. If it sucks, I can always cover the rest of the purse later.

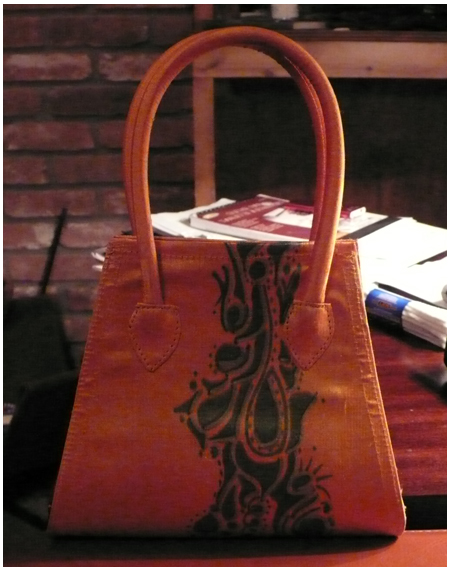
Still not sure if I’ll actually use it, but I like it. Worse case scenario, it’s something cool to add to the donation bag.
Tags:
diy,
markers,
projects,
purse
Category :
Design/DIY
Comments/Slurps »
DIY Neon pop high heeled sandals
June 12, 2012
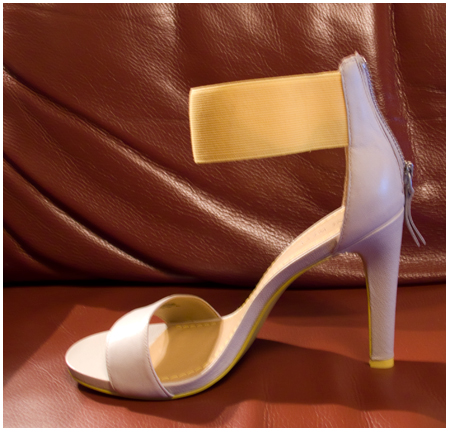
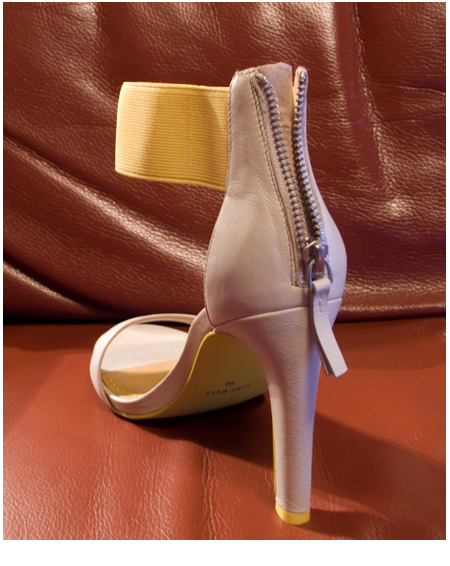
I picked up these 9West sandals online, and as with any online shopping experience, I accepted that they would look slightly different in person. I had hoped they would be either slightly more elegant, or slightly funkier than they seemed, of course neither proved to be accurate assumptions. They were a bit blah. They weren’t expensive, and they fit well, so a DIY was in order. I couldn’t think of anything I could do to make them more elegant, but making things bolder is always an option so…
The original shoe:
Plus neon orange nail polish:
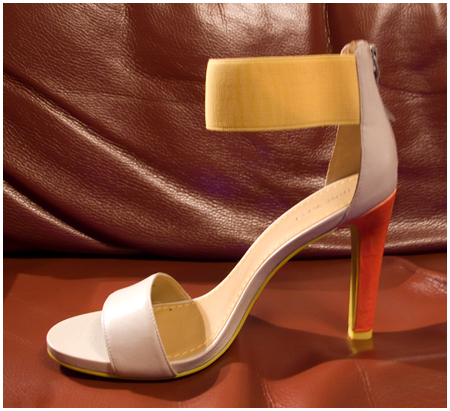
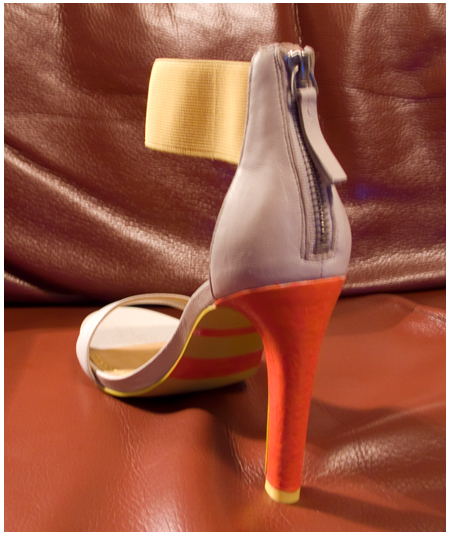
Hooray!
Tags:
diy,
paint,
projects,
shoes
Category :
Design/DIY
Comments/Slurps »
Project: August 20th 2011
Comic Book Shoes!
August 20, 2011
I had this pair of awful pink platform shoes, they pinched, they’re ugly, and if they got totally destroyed I’d be glad to be rid of them. So when I needed a pair to experiment on, they were it.
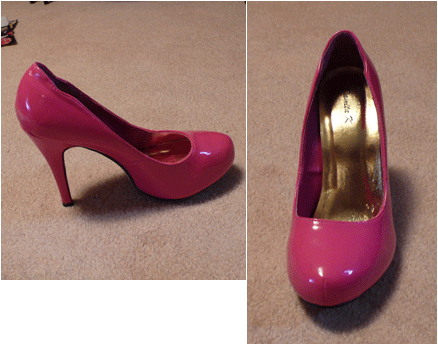
Modge podge and a Hack Slash comic later …
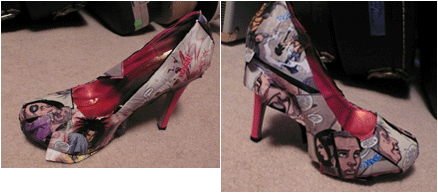
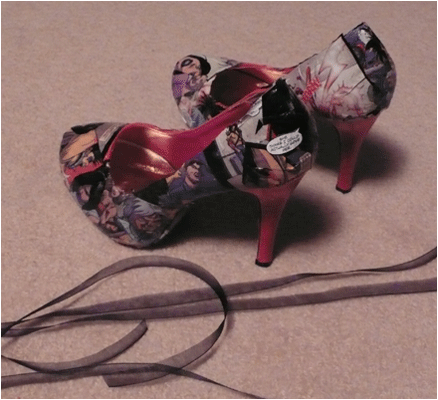
I used the ribbon to line the shoe edges, so it would have more of a comic panel feel.
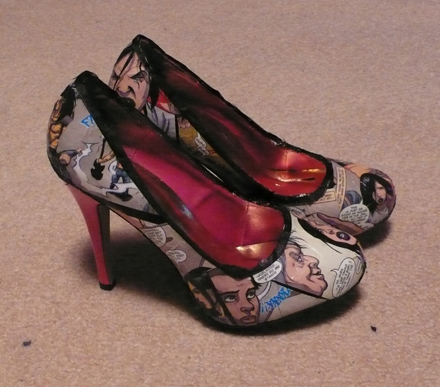
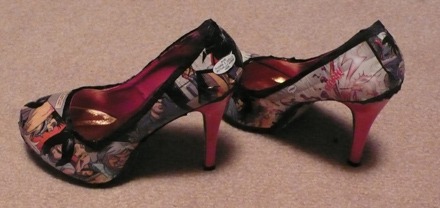
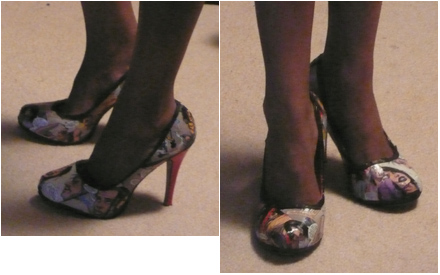
They turned out awesome – but they still pinch!
Tags:
comics,
diy,
projects,
shoes
Category :
Design/DIY
Comments/Slurps »
Project: Decorated shoe bottoms!
August 14, 2011
This is a repost of my shoe bottoms project from last year – Obsessive + Picky = Gorgeous Shoe Bottoms! – in honour of my current shoe projects.
I love adding visual interest to shoe bottoms. It’s this blank slate that usually is pretty bland and sometimes even kind of ugly – why not turn it into a proper accessory? I used to love the Louboutin red bottoms, but now I’ve begun to feel like having them is about the same as having a logo emblazoned across your chest. That probably isn’t going to stop me from wearing mine – since the shoe itself is totally awesome, but I’m probably not going to buy more of them either (the Princess sighs with relief).
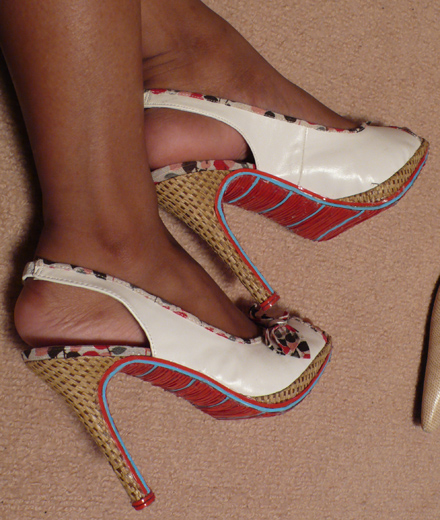
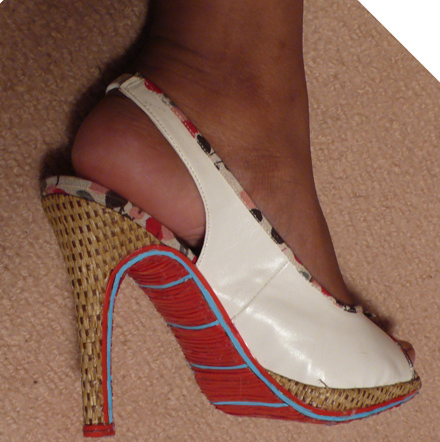
I love these shoe bottoms, unfortunately the actual shoe doesn’t really fit well. The elastic slingback stretched out somehow and now the shoes are too big – so I’ve never actually worn them out of the house. I’ll have to figure out a way to shorten the slingback.
Tags:
accessories,
diy,
projects,
shoes
Category :
Design/DIY
Comments/Slurps »
Project:July 8th 2011
Candy + shoes = awesome!
July 8, 2011
Yea! Once I had the right glue, these were super easy to put together. I used contact cement (after failing miserably with Modge Podge) and applied the glue in thick globs, dividing the shoe into 4 parts: toe, heel, instep, and – er – outstep? Then pressed the glue covered area into a large tupperware filled with nonpareils. I used red licorice ropes to line the shoe and glued a sort of bow on the top.
Let it dry, spray with sealant, and tada! Candy shoes!
I know I took more progress images but I can’t find them anywhere. I can be trigger happy with the delete button.
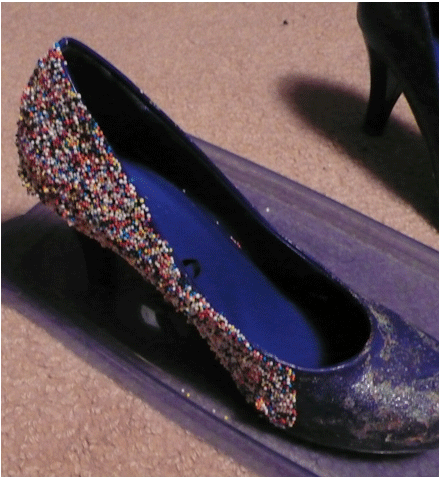
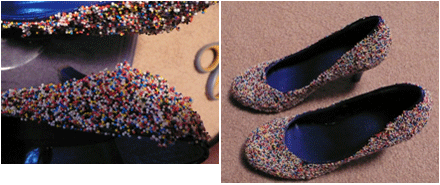
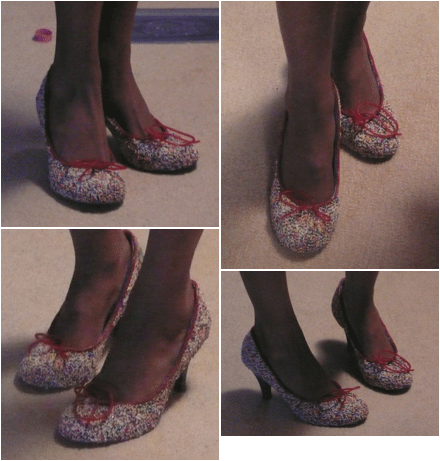
A few sprinkles have escaped, but not many. Really, the licorice bow is the most fragile part of the shoe.
Tags:
candy fashion,
diy,
glue,
nonpareils,
projects,
shoes
Category :
Design/DIY
Comments/Slurps »


