Fit and Flare Coat project
January 26, 2012
For a few years now I’ve been wanting to add some chain toggle closures across the chest of a black coat. I have a black winter coat but it doesn’t have the detailing that I had been envisioning – also, I didn’t want to ruin the damn thing. I stumbled upon a black coat with these sort of shoulder/chest flap things, which give it a bit of a military vibe, but the fit and flare silhouette is pretty girly. A nice combo, so I grabbed it. The coat is from ASOS and is the ASOS brand, which can be pretty cheap. This actually works for me: it’s almost felt-weight, so I’ll be able to wear it in the spring, and it’s cheap enough that if the additions look bad or damage the coat, I won’t beat myself up over it.

The left is the coat now: black, brown buttons. The right is what I’m going to add: 3 thin silver chains with toggle closures across the front flap thingies, 1 more in the back where there’s currently a pair of buttons, a long chain loop from the front to the back (where there’s currently another button), and bracelet type chains from the sleeves. Oh, and replacing the round brown buttons with long metal ones. And, depending on how it looks at this point, possibly adding a chain edging across the shoulder flaps.
This should be pretty easy to do. I have the chains, the toggles are in transit, I need to find some buttons, and then I’m good to go.
** This is the ASOS image of the coat, photoshopped with the photocopy sketch filter (filter, sketch, photocopy!) and then coloured in and doodled on. **
Tags:
chains,
coat,
diy
Category :
Design/DIY
Comments/Slurps »
Project: August 20th 2011
Comic Book Shoes!
August 20, 2011
I had this pair of awful pink platform shoes, they pinched, they’re ugly, and if they got totally destroyed I’d be glad to be rid of them. So when I needed a pair to experiment on, they were it.
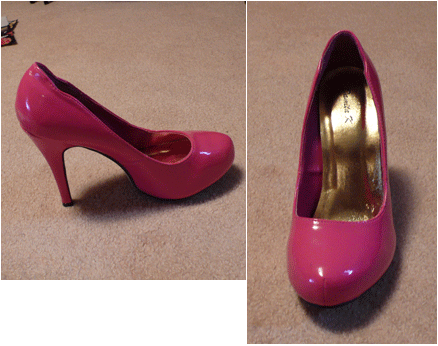
Modge podge and a Hack Slash comic later …
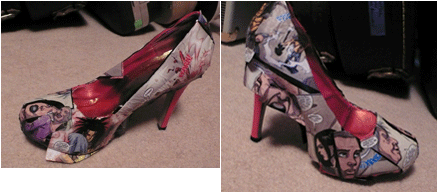
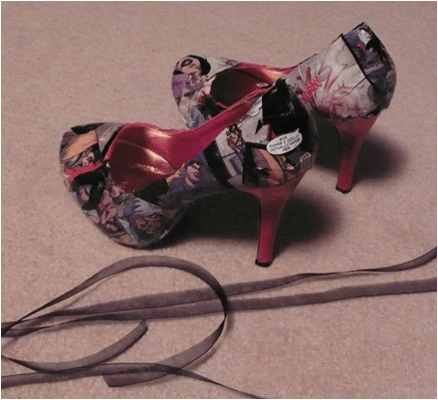
I used the ribbon to line the shoe edges, so it would have more of a comic panel feel.
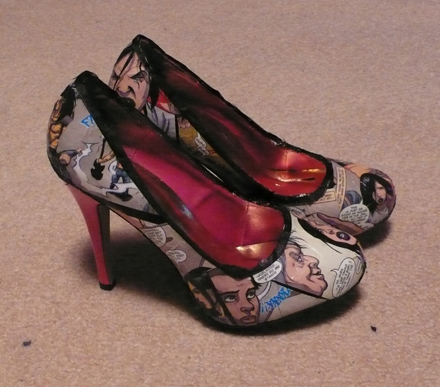
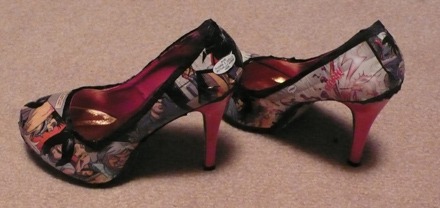
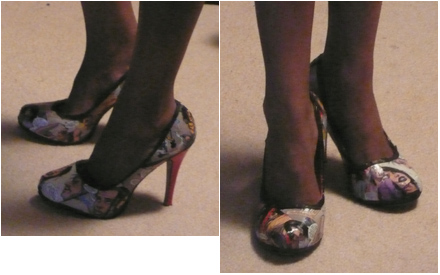
They turned out awesome – but they still pinch!
Tags:
comics,
diy,
projects,
shoes
Category :
Design/DIY
Comments/Slurps »
Project: Decorated shoe bottoms!
August 14, 2011
This is a repost of my shoe bottoms project from last year – Obsessive + Picky = Gorgeous Shoe Bottoms! – in honour of my current shoe projects.
I love adding visual interest to shoe bottoms. It’s this blank slate that usually is pretty bland and sometimes even kind of ugly – why not turn it into a proper accessory? I used to love the Louboutin red bottoms, but now I’ve begun to feel like having them is about the same as having a logo emblazoned across your chest. That probably isn’t going to stop me from wearing mine – since the shoe itself is totally awesome, but I’m probably not going to buy more of them either (the Princess sighs with relief).
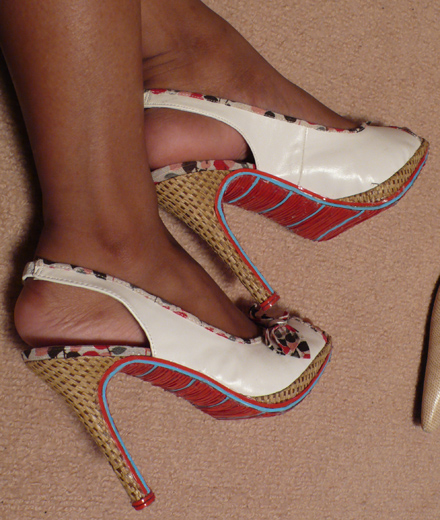
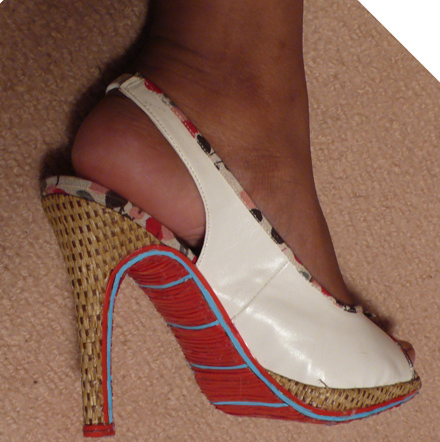
I love these shoe bottoms, unfortunately the actual shoe doesn’t really fit well. The elastic slingback stretched out somehow and now the shoes are too big – so I’ve never actually worn them out of the house. I’ll have to figure out a way to shorten the slingback.
Tags:
accessories,
diy,
projects,
shoes
Category :
Design/DIY
Comments/Slurps »
Project:July 8th 2011
Candy + shoes = awesome!
July 8, 2011
Yea! Once I had the right glue, these were super easy to put together. I used contact cement (after failing miserably with Modge Podge) and applied the glue in thick globs, dividing the shoe into 4 parts: toe, heel, instep, and – er – outstep? Then pressed the glue covered area into a large tupperware filled with nonpareils. I used red licorice ropes to line the shoe and glued a sort of bow on the top.
Let it dry, spray with sealant, and tada! Candy shoes!
I know I took more progress images but I can’t find them anywhere. I can be trigger happy with the delete button.
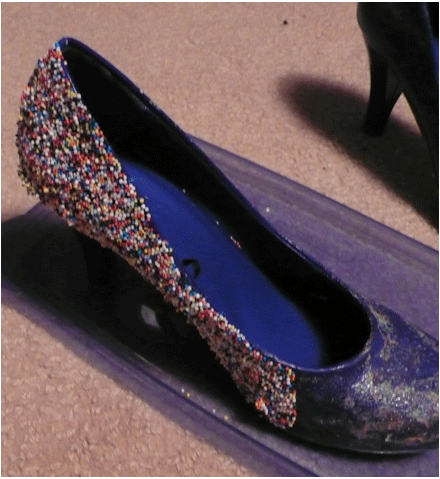
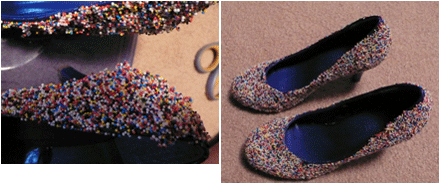
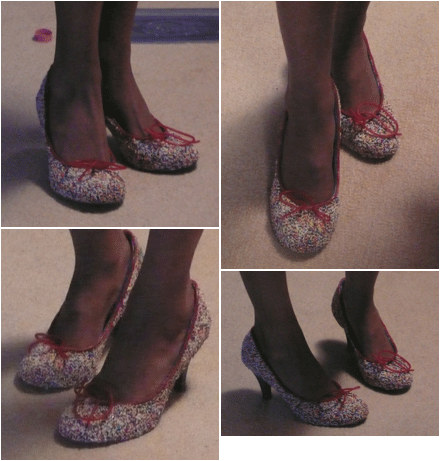
A few sprinkles have escaped, but not many. Really, the licorice bow is the most fragile part of the shoe.
Tags:
candy fashion,
diy,
glue,
nonpareils,
projects,
shoes
Category :
Design/DIY
Comments/Slurps »


